Projects
- What is a project?
- How to create a project
- Project’s menu
- Access to projects
- Project managers
- Sections
- Time attributes
- Project statistics
- Followed and favorite projects
- All projects
- Ended projects
- Grouping projects
- Sharing a project with another space
- How to move a project to another space
- How to clone a project
- How to change a role or remove someone from a project
- How to archive a project
What is a project?
A project is a way to organize your tasks. Everything that requires more than one step to be done can be a project. It can be a large goal (“Website redesign”, “Family Vacation 2023”) or a category of things you need to do (“Marketing”, “Chores”).
How to create a project
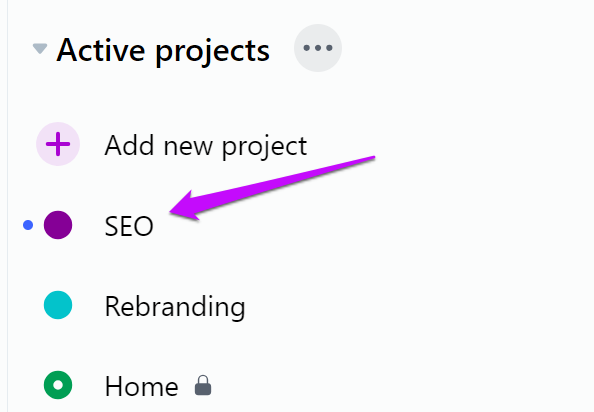
To create a project, hit the “New Project” button visible in the “Active projects” list in the left panel to open the project set-up form.

If your “Followed projects” list is pinned to your sidebar, you can also tap the “New project” button on that list to create a project this way.
But that’s not all. You can also open a task, tap on its project attribute, and create a new project directly there.
While creating a project, you can tap on “More options” to specify additional details of your project. Here you can add a project purpose, create the project from a template, set its color or specify the groups to which it will belong.
By default, new projects can be accessed by anyone in your space. Thanks to it, you can immediately start working on them and assign tasks to your space members. Other space members can edit the name of such project, change its purpose, or mark it as done.
You can create a private project or invite selected people to a project by choosing the “Selected users” option while setting it up. The projects to which all space members have access will be marked with a “dot”, invitation-only ones with a “ring”, and the personal projects will have a padlock icon next to their names. This option is available for Premium and Business users only.
Project’s menu
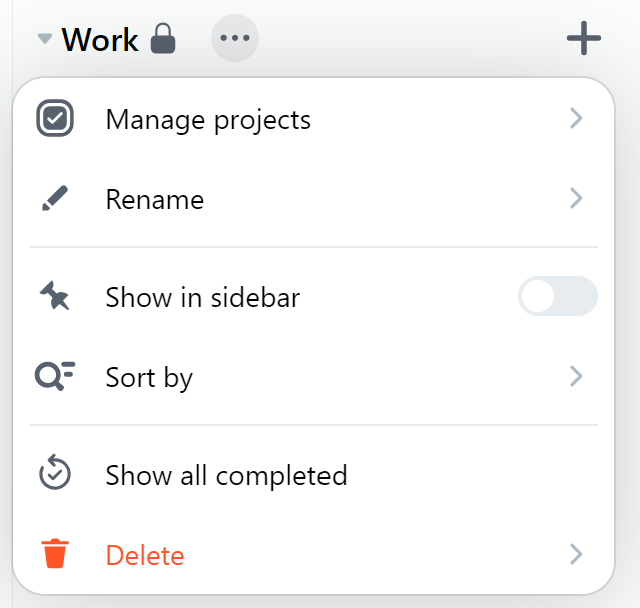
Enter a project, tap on the “…” icon next to its name in the top bar. There are a few different options in the drop-down list:
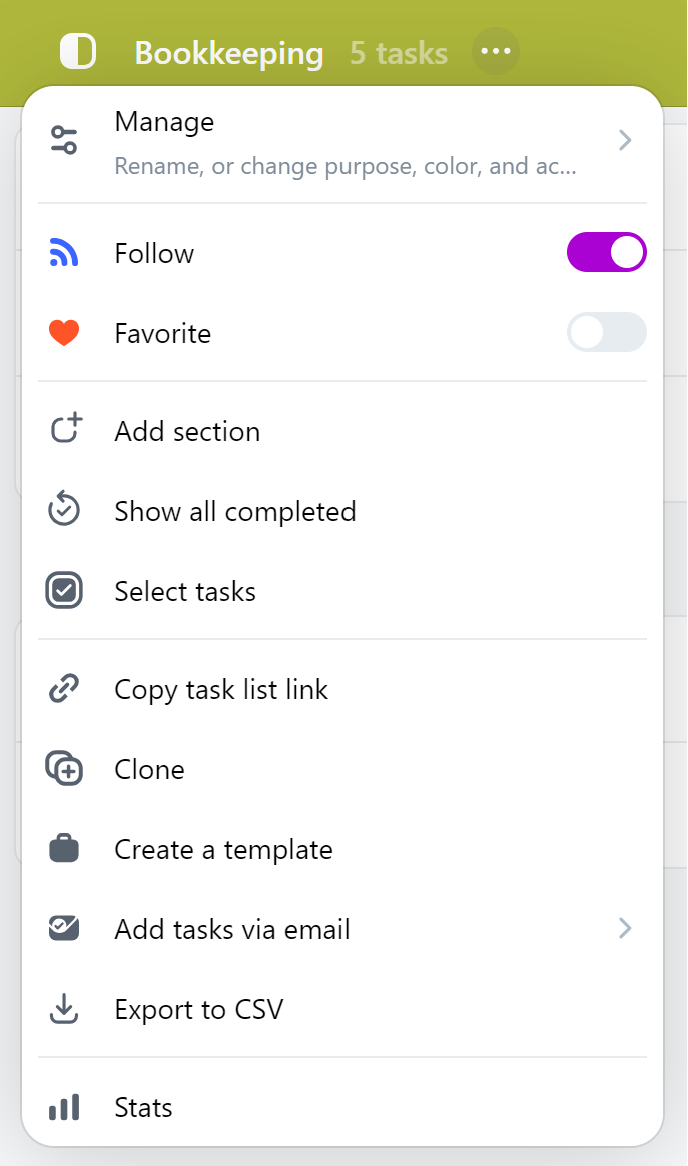
- Manage: use it to change this project’s details.

-
General: change the name of the project, check who is the project’s author, and set the project’s purpose - purpose serves as a useful description, especially in shared projects. Here you can also enable time attributes for tasks in that project: time needed and time spent.
-
Color: use color to highlight your project.
💡Pro-tip: You can use a suggested color for your projects. You can freely toggle between your color and suggested color within project settings. Suggested color is automatically set for every new project. It can then be changed only by project managers.
-
Members: tap on it to see the list of users you share this project with. Here you can also change the status of that project to invite-only, or invite another space to work together on it.
-
Share a project with another space: you can do it by providing the email address of another space member.
-
Groups: you can select to which project groups this project should belong.
-
End project: use it to mark your project as ended.
- Follow: mark a project as followed to receive updates about it in Activity,
- Favorite: mark your project as favorite. It will show up in your Favorites list in the app’s sidebar,
- Add section: you can divide your project into different sections. It is helpful when your project is getting bigger and more complex.
- Show all completed: it will allow you to see completed tasks.
- Select tasks: you can choose several tasks simultaneously and edit them.
- Copy task list link: you can generate a link to your task list.
- Clone: you can create a copy of the project, its sections, and active tasks.
- Create a template: create a template based on that project to manage recurring procedures.
- Add tasks via email: you will find the project’s unique email address you can use to send tasks to it via email.
- Export to CSV: generate a CSV file containing information about the tasks currently displayed on the task list within that project.
- Stats: see your project’s statistics.
Access to projects
When you create a project in Nozbe, it will be accessible to all your space members. This means that all space members can see such project on their projects list and access it.
If you need to restrict access to a certain project, you can do it in the project’s settings.
To do this, open a project, then hit the “…” icon next to its name. Now choose “Manage” and go to the “Members” tab.
Here you can change the access settings. “Everyone” is the default setting - this means that every member of your space can see this project. To restrict the access to this project, change the setting to “Selected users”. After using that option, by default you will be the only person with access to this project.
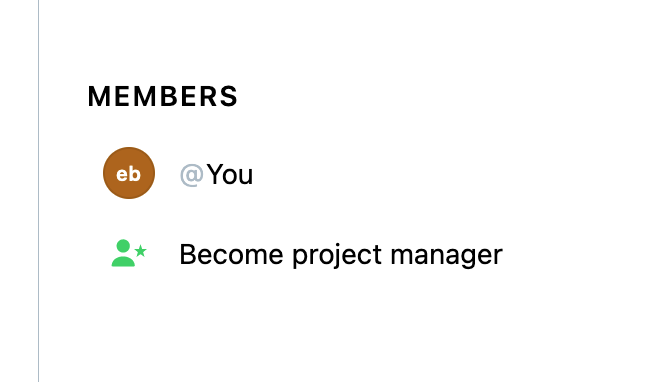
You can add more people to it by using the “Add people” button. If you no longer want someone to have access to your project, click on their name in the view and choose “Remove from project”. Here you can also grant them manager status for this project.
Hit “Done” to confirm your choice.
Only project managers can change access settings in projects.
Project access icons
The circle next to a project’s name on the projects list will differ depending on the access settings.
- A project accessible to everyone in your space will be marked with a full circle.
- A project with restricted access will be marked with a donut.
- A project that is only accessible to you will be marked with a donut and will also have a padlock icon next to its name.
Project managers
When you create a project, you automatically become its manager.
As a manager, you can change the project from open-access to invite-only and the other way around.
In an invite-only project, you can add new people or remove them from that project. You can also edit that project’s name.
Note that if you wish to leave a project, and you’re currently its only manager, it is necessary to grant the manager permissions to someone else first. Only then, the new manager can remove the previous manager from the project.
If a manager leaves a project and the space admin is a member of it, the space admin can become a new project manager.
Sections
Sometimes tasks in a project serve different purposes, especially when a project is vast and complicated. Project sections will help you group those tasks and organize your workload.
How to add a project section
To add a new section, tap the “…” icon next to the project’s name and choose “Add section”.
How to add your tasks to specific sections
When adding a new task, you can use the “+” icon in a specific section to ensure the new task will be added right there.
You can also drag and drop all tasks between the sections in a project.
Change the section order
Use the drag and drop option to move the section up or down.

Cloning sections
Sometimes you may need to duplicate an entire section with all tasks within it and their parameters. Nozbe allows you to do so.
To clone a section, tap the “…” icon next to the section’s name and choose “Clone”.
Now you can set up the clone: change its name or choose which project you’d like to add it to. You can choose to clone both active and completed tasks, or just the active tasks. You can also decide if all comments should be cloned, or only the pinned ones.
Confirm cloning the section by hitting the “Clone” button.

Please note that you’ll become the author of all tasks and comments in the section clone you create.
How to convert a section into a project
If a section becomes too complex or the number of tasks within it starts getting overwhelming, you can convert it into a project.
To do this, navigate to the section, then hit the “…” icon next to its name. Press the “Convert into a project” button and confirm your choice.
How the section is converted
When you convert a section into a project, Nozbe will create a new project with the same name as the original section.
All active tasks from the original section will be moved to the new project, along with all comments added to them. Completed tasks from that section will not be transferred.
If the original section belonged to a project you shared with other people, the new project will also be shared with them. All tasks transferred from the original section will keep their responsibility settings.
If the original section belonged to your private project, the new project will also be marked as private.
Nozbe will archive the original section and all completed tasks within it. You can restore that section at any time.
Archiving and deleting sections
If you don’t need a particular section anymore, tap on the “…” icon next to its name and choose the “Archive” option to move it to Nozbe’s archive. You won’t see it anymore in your project.

Tasks from an archived section will remain in the project without a section specified.
To restore the archived section, you first need to tap on the “…” icon next to the project’s name and choose the “Show all completed” option. You will see your archived section on the list - tap on the “…” icon next to its name and choose “Restore” to retrieve it.
Once the section is archived, you can delete it permanently. Make sure that you won’t need it anymore - this action cannot be undone.
Collapsible sections
You can also hide tasks from sections by collapsing them:

This feature may be really useful when you want to focus on tasks from a particular section.
Time attributes
In each project, you can enable time attributes - time needed and time spent - for its tasks.
To enable time attributes, hit the “…” icon next to the project’s name and choose “Manage”. Here you can toggle the “Enable time attributes” option.
Once this option is enabled, you’ll be able to set time needed and time spent parameters in your tasks.
If your project is divided into sections, then the summary of time needed and time spent will be shown for all active tasks in a section below the section’s name. The information about overall time needed and time spent for all active tasks in a project will also be visible in the project’s top bar.
When time attributes are enabled, every person who has access to that project can change those parameters in tasks.
Time attributes are a Premium feature - they are not available on Free plans.
Project statistics
In each project, you can check its statistics. Tap on the number of tasks in a project displayed next to its name to see the stats.
Here you can see statistics about the number of completed and active tasks in that project, as well as the time needed and time spent progress in completed and active tasks. In the “Pace” section, you can see the breakdown of each of these statistics in previous days, weeks and months.
Followed and favorite projects
If a space member creates a new project, it will appear in the Activity view of other space members.
Apart from that, a newly created project will also show up on the list of Active Projects and will be marked with a blue dot.
Projects can be marked as followed and favorite.
Following projects
If a project is important to you and you want to stay updated about changes, you should follow it. Tap on the newly created project’s name in Activity and choose “Follow”. From now on, you will see new comments added to the tasks in this project within your Activity section.

Any project you create will be automatically added to your followed projects.
You can access your followed projects in your Sidebar → More → Followed projects.

By default, you’ll only see the “Favorites” and “Active projects” lists in your app’s sidebar. If you’d also like to see the “Followed projects” list there, you can pin it to your sidebar. This way, you will be able to access the followed projects directly from the sidebar on the left.
To do this, scroll down your sidebar, find the “More” section and go to “Followed projects”. Hit the “…” icon next to the “Following” group and select “Show in sidebar” to pin it to your sidebar. You can also move this group up or down by dragging and dropping it.

💡 Tip: You can also pin other project groups to your sidebar.
Marking projects as Favorite
Mark the most important projects as your favorite. They will be displayed in a separate section in the sidebar (right above the projects list) for easy access.
You can mark a new project created by other space member as favorite in the Activity view by hitting the “…” icon next to its name and choosing “Favorite”:
…or by opening an existing project, clicking the “…” icon next to its name and hitting “Favorite”:

Projects marked as favorite will also be automatically marked as followed.
💡 Tip: Tags, templates and space members can also be marked as favorite.
Mentions in projects you don’t follow
When someone mentions you in a task from a project you don’t follow, the task will show up in your Incoming. If you have push notifications enabled, you will additionally be notified about this task. You will also always see that task in your Activity each time new comments are added. You can unfollow the task anytime by opening it, choosing “…” in the upper-right corner of the task details view and turning off the “Follow” option.
All projects
In the app’s left panel you will see the “Active projects” list. This list contains all active projects to which you have access.

Projects list menu
Hit the “…” next to a projects list to see its menu.
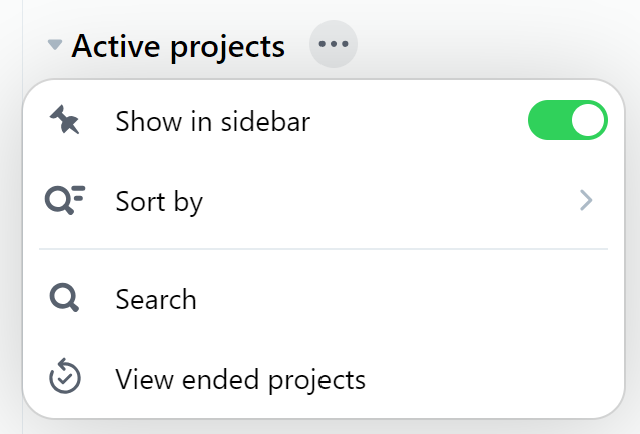
Here you can:
- show in sidebar - toggle this option to display or hide this list in your app’s sidebar
- sort by - use it to sort your projects list by one of the available sorting options
- search - use it to find a project
- show ended projects - use this option to see all ended projects from this list
Ended projects
To see the ended projects, hit the “…” icon next to the list of projects, then choose “Show ended projects”:

Grouping projects
You can also manage projects and combine them into groups. It is a helpful feature for users who have many projects and want to manage them more effectively. This is a Premium feature, so it’s not available for Free spaces.
How to create a project group
From the app’s main panel to the left, go to the “More” section and choose “Project groups”, then hit the “Create new group” button.

Group’s privacy
While creating a group, you can select who can see it. Space admins can choose whether they want the group to be visible to everyone or keep it private. A space member can also create a project group, but only they will see it.

Choosing projects that belong to your group
If you select the “Manage projects” option, you will be able to choose projects you want to have in that group. When you finish, click on “Create” and you will see your project group on the list.
You can always edit the list of projects that belong to an already existing group. To do so, hit the “…” next to your group, then choose “Manage projects”. Select which projects should belong to this group, then confirm the changes by hitting “Done”.

You can also add a project to several different groups. Just go to a project and hit the “…” icon next to its name, then choose “Manage”. Then tap on the “Groups” option and choose the groups for your project. Tap on “Done” to confirm, and that’s it. Your project belongs to all the groups you have checked.
Changing group’s parameters
You can change the group’s parameters anytime you want. Just tap on the “…” icon next to the group’s name. You can manage projects added to the group, rename it, show it in sidebar, sort it, show all ended projects, or delete it. Don’t worry - deleting a group won’t delete the projects added to it.
Only the admin or the owner can modify public groups.
Showing groups in sidebar
If you’d like to always have a certain project group at hand, you can choose to show it in the sidebar.
To do this, tap on the “…” icon next to the group’s name and choose “Show in sidebar”. The project group will now appear in the app’s sidebar.

You can also choose to display multiple groups in the sidebar, and change their order there by dragging and dropping them up or down.
Sharing a project with another space
You can also share projects with other spaces. If you wish to collaborate on a project with users from a different space, open the project, then hit the “…” icon next to its name. Tap on “Manage” and go to the “Share project with another space” section.
Type in the email address of the invited space’s member and confirm.
The project will be shared and visible to the other space once they accept the invitation on their end.

Every project can be shared. Once a project is shared with another space, it’s changed to a limited access project.
One project can be shared with only one other space.
One space can be invited to multiple projects.
You can also send an invitation to a project to someone who doesn’t use Nozbe yet. They will receive an email with an activation link in it. If they follow that link, they will be able to set up a space in Nozbe and access the project.
Sharing projects with other spaces is available as a Nozbe Premium feature only - the space inviting must be Premium, the space accepting can be a either a Premium or a Free space. A Free space can only accept the invitation to a project if it doesn’t exceed the Free plan’s limit for the number of active projects.
Moving tasks out of a project shared with another space
To ensure the data safety, only certain people can move a task from a project shared with another space.
You can move a task from such project to a different one if:
- you are the member of the inviting space,
- you are a space admin or a project manager in the invited space,
- you are the person who created that task.
If you are a member of the invited space with no admin or manager rights, you won’t be able to move a task created by another person out of that project. You can, however, clone such task and move that clone to a different project.
How to stop sharing a project with another space
To stop sharing a project with another space, go to that project and hit the “…” icon next to the project’s name on the app’s top bar. Choose “Manage” and go to “Sharing with XYZ space” view.
Hit the “Stop sharing project” to revoke the invited space’s access to that project.
How to move project to another space
In Nozbe you can move a project between spaces.
To do this:
Go to your Project List.
- Select the project you want to move.
- Click the three-dot icon (⋯) next to the project name.
- Choose: Move to another space.
- Select the destination space from the list.
- Confirm the move. Once confirmed, the project will be relocated to the selected space.
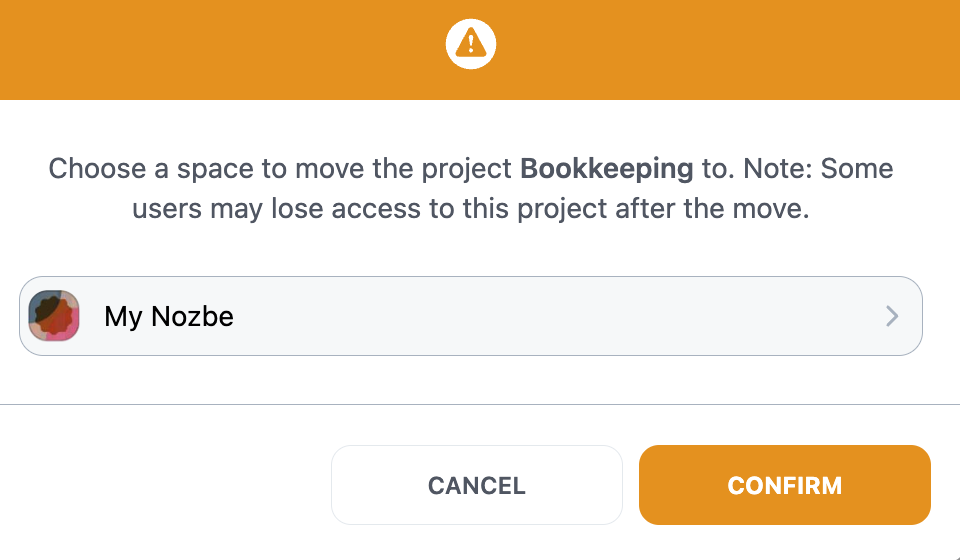
Note: When you move a project to another space, some people may lose access to it if they are not members of the destination space. While you will still see who added comments or tasks previously, those users will no longer have access to the project or its content in the new space.
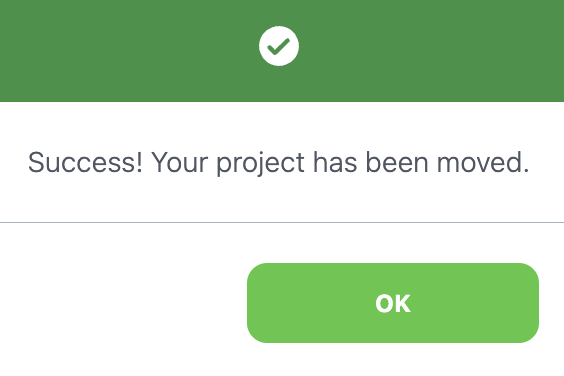
A confirmation window will appear once project was sucesfully moved to selected space, and you’ll be automatically forwarded to this space.
How to clone a project
To clone a project, open the one you want to copy, tap on the “…” icon next to the project’s name and choose the “Clone” option.
The app will copy the project’s attributes, sections, and tasks. Tasks attributes (such as due dates, private tags, responsibility etc.) will also be cloned.
You can choose whether you want to clone both active and completed tasks, or active tasks only. As for the comments, you can decide whether all comments, or only pinned comments should be cloned.
You will find the link to the original project in the cloned project’s description.
Please note that you will become the author of the entire copy if you clone a project, including all tasks and comments within it.
You can also clone a project to a different space. It’s a great option if you manage multiple spaces and you have to set up projects for procedures with similar steps.
Just tap on “…” next to a project’s name→Clone→select space you want to clone this project to:

How to change a role or remove someone from a project
If you wish to remove a person from an invite-only project, tap the “…” icon next to the project’s name and choose “Manage”. Now go to the “Members” section. Hit the “>” button next to the name of a person you wish to remove.
In this view, you can change that persons' access settings in this project. Use the “Remove from Project” option. Save the changes with the “Done” button and confirm your choice by hitting the “Confirm” button.

In the same view, you can also grant someone a Manager status. A manager can change a project’s name, as well as add new users to the project or remove them from it.
How to archive a project
To archive a project, you have to end it. Open the project, then hit the “…” next to its name and choose “Manage”. Tap on the “End project” section. Confirm ending the project.

Your project will now be archived. Its name will be displayed as crossed out, and it will disappear from the Active projects list. It will also no longer show up on the Followed projects lists of anyone who followed it. The information about that project being ended will also show up in the Activity view of all people who has access to it.
Restoring a project
If you wish, you can restore an ended project at any time.
Hit the “…” icon next to the “Active projects” list, then choose “View ended projects”. Find the project you want to restore and tap on it. Now hit the “…” icon next to its name on the app’s top panel, choose “Manage” and select “Restore”. Confirm your choice.

Your project and all tasks within it will be restored.
Deleting a project
You can delete a project only after ending it.
When you end a project, hit the “…” icon next to its name again, choose “Manage” and select “Delete”. You will be asked to enter the project’s name - it’s an extra step to make sure that you’re deleting the right project.
Once you remove a project, you won’t be able to retrieve it. That’s why we suggest ending your projects instead of removing them from our database.


