Project templates
What are templates?
Project templates are a great tool to manage assignments that require always completing the same set of tasks, for example introducing a new member into your company. Thanks to it, it’s not necessary to keep all procedures in your head and you don’t have to worry that you accidentally skip a crucial step in the process.
In your template, you can edit tasks and assign them to your space members. Once you create a project, all the parameters and responsibility will be transferred.
How to create a new template
There two ways of creating new templates.
From scratch: In the left panel, select “Templates” to open the list of your templates. To create a new template, tap the “+” icon next to “Active templates”:
Once you’ve set up all parameters, tap “Create”.
From an existing project: create a template from an already existing project. To do this, open a project, then hit the “…” icon next to its name and choose “Create a template”:
You can choose whether you want the template to be visible to everyone in your space, or to selected users only.
In addition to that, you can decide whether you want the template to contain both active and completed tasks from the original project, or just the active ones. You can also choose if the template should contain all comments from tasks in the original project, or only the pinned ones.
If you belong to more than one space, you can create a template based on a project from your first space to the second space.
Tap the “Create” button when you’re ready setting up your template’s parameters.
How to create a project from template
While creating a new project, tap the “From template” option:
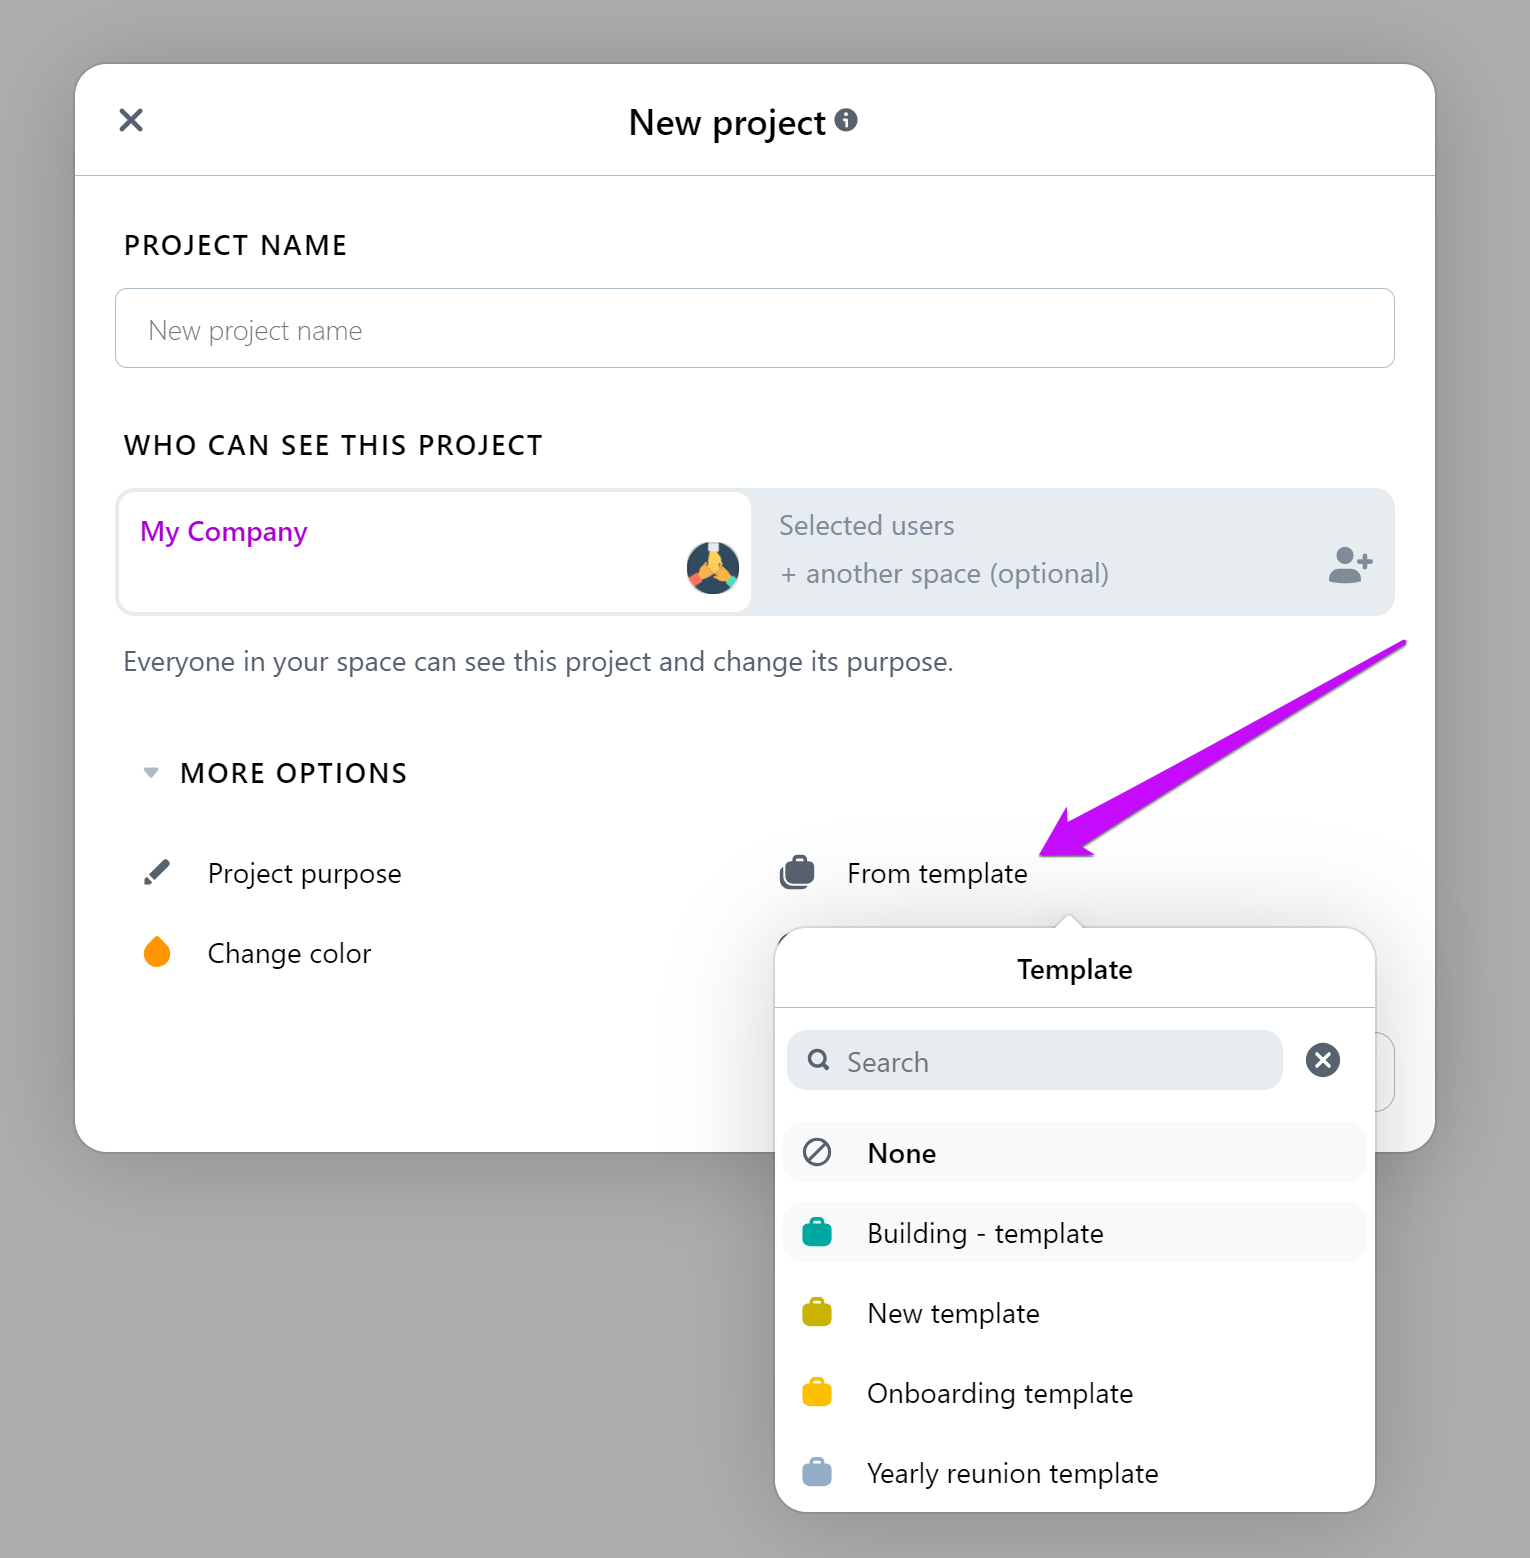
In the drop-down menu you will see a list of all templates. Choose one and confirm.
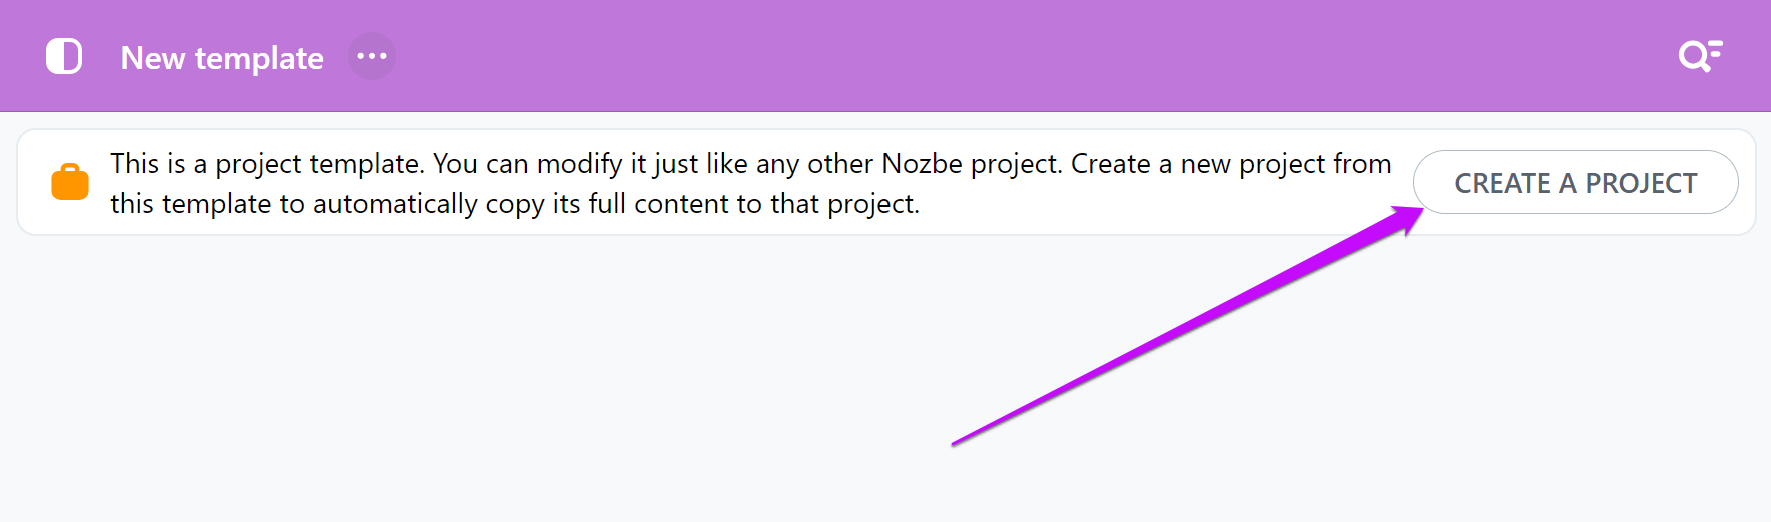
You can also open a template to set up a new project directly from it by hitting the “Create a project” button:
Template’s menu
Open a template and tap on the “…” icon next to its name in the top bar. There are a few different options in the drop-down list:
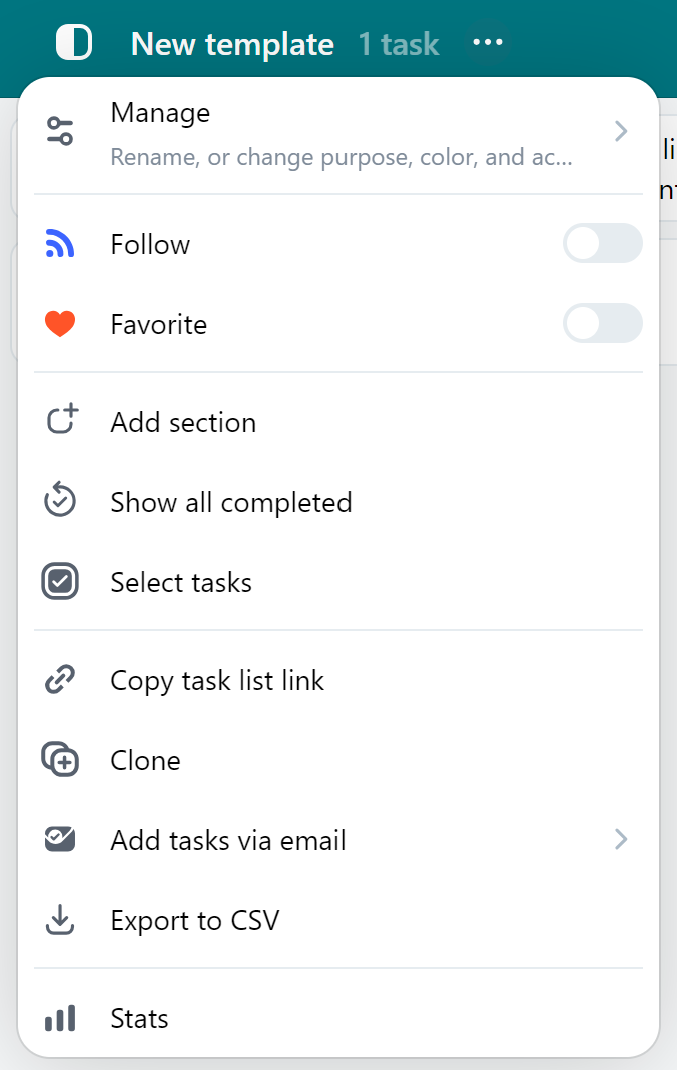
- Manage: use it to change this template’s details.
-
General: change the name and set purpose - purpose serves as a useful description, especially in shared projects created from a template. Here you can also enable time attributes for tasks in that template: time needed and time spent.
-
Color: use color to highlight your template.
💡 Pro-tip: You can use a suggested color for your templates. Only you can change it. The suggested color is automatically set for every new project created from the template. When someone creates a project from that template, they can leave the automatically set suggested color, or choose a different one for their project. If they choose the second option, the template’s suggested color will no longer affect the newly created project’s color, and the project owner can choose a new suggested color for their project.
-
Members: tap on it to see the list of users you share this template with. Here you can also change the status of that template from open to invite-only.
-
Groups: you can select to which project groups this template should belong.
-
End template: use it to mark your template as ended.
- Follow: mark a template as followed to receive updates about it in Activity, and to have a quick access to it from the sidebar on the left.
- Favorite: mark your template as favorite to see it on the top of the list on the left side.
- Add section: you can divide your template into different sections. It is helpful when your template is getting bigger and more complex.
- Show all completed: it will allow you to see completed tasks.
- Select tasks: you can choose several tasks simultaneously and edit them.
- Copy task list link: you can generate a link to this list.
- Clone: you can create a copy of the template, its sections, and active tasks.
- Add tasks via email: you will find the template’s unique email address you can use to send tasks to it via email.
- Export to CSV: generate a CSV file containing information about the tasks currently displayed on the task list within that template.
- Stats: see the template’s statistics.
💡 Hint: you can also check the statistics of a chosen template by tapping the number of tasks displayed next to its name. The app will show you the number of completed and active tasks within that template, as well as the amount of time needed and time spent set for these tasks, with a pace breakdown for last days, weeks and months.
Due dates in projects created from templates
The dates you add to tasks in the template are relative, not fixed. By default, the template will use today’s date as a reference date: the starting point for due dates. Any due dates of tasks created in a template-based project will be relative to today’s date.
For example, today’s February 16th, we set the due date of our task in the template to February 19th. Nozbe will now remember that in future projects created from that template, this task should be created with a due date set to 3 days later. If we create a project from that template on March 1st, the due date in that task will be set to March 4th.
Reference date
By default, the reference date for task’s due dates is set to today. You can also change the reference date for a project you create from a template. To do this, set the “Reference date” parameter to a chosen date while creating a project from a template:
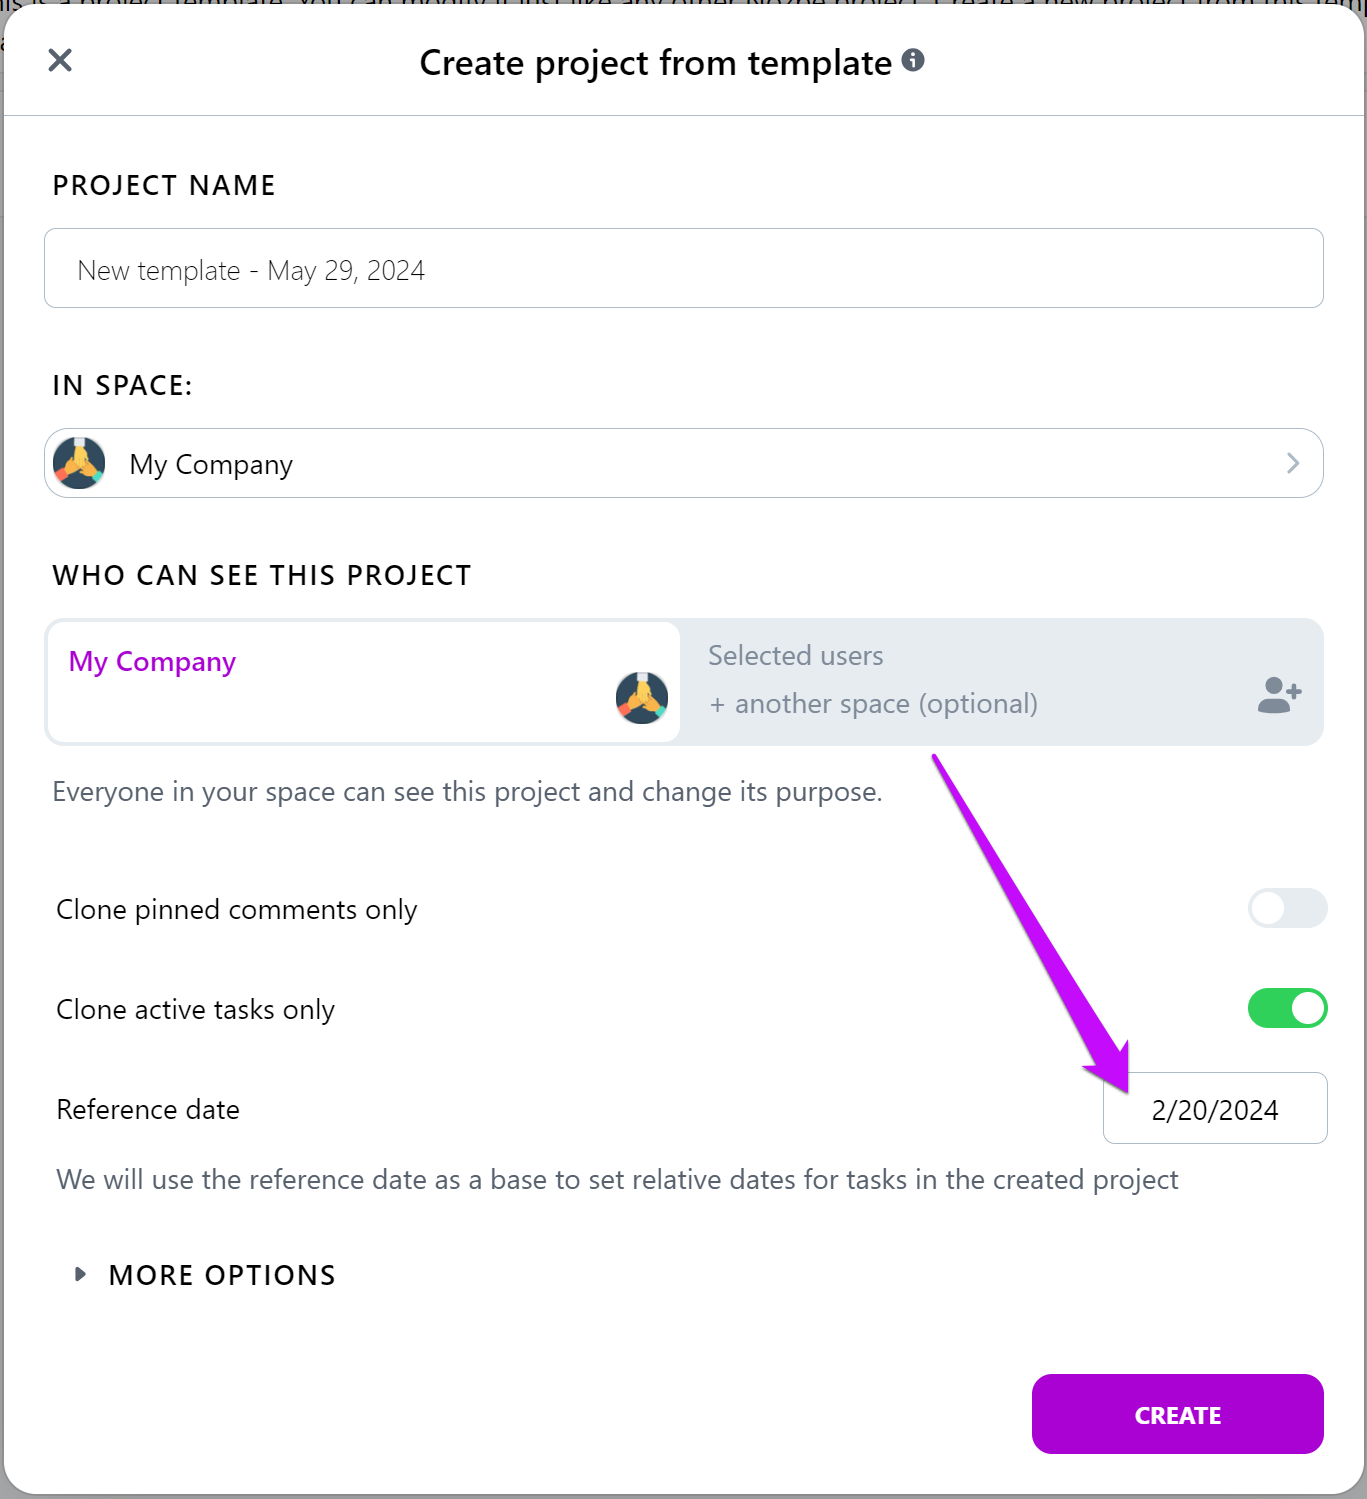
The reference date will be used as a base to set due dates of tasks in the project you create this way.
For example, today is February 16th. The task in your template is scheduled to “in 3 days”. If you set the reference date to February 20th, the due date of your task in the newly created project will be scheduled to February 23rd.
Recurrences in templates
Any recurrences you set in a task within a template will also be remembered. If you create a project from such template, the task’s recurrence will be counted from the due date set in a task within that newly created project.


