iOS app
Nozbe for iOS

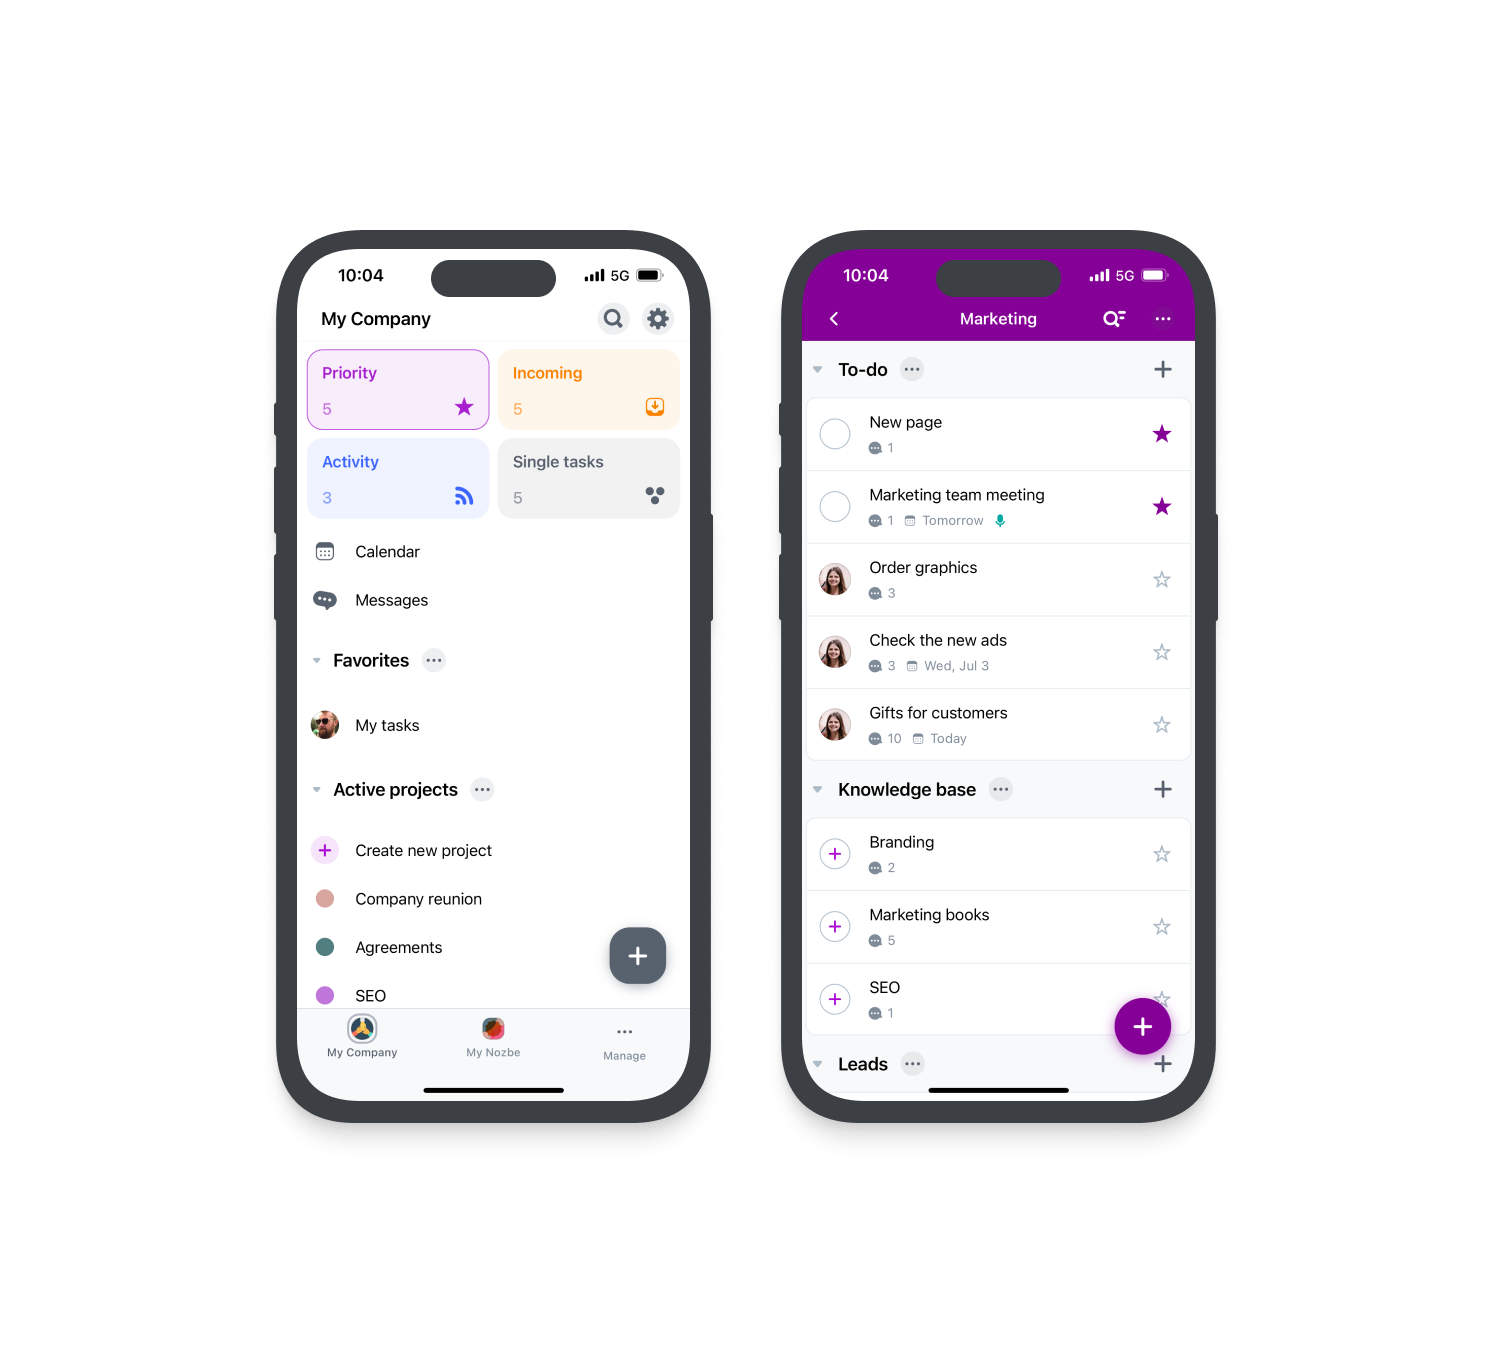
Nozbe iOS app - download it for free for your iPhone or iPad from the App Store.
To work seamlessly, our iOS app requires iOS 14.4 or later.
Preferences and appearance
Nozbe will set the app’s language to one that’s determined by your iOS system settings if a translation is available. Otherwise, the app’s language will be set to English. You can change the app’s language by hitting the gear icon → Settings → Language.
Nozbe automatically adjusts the app’s time according to the time zone settings of your iOS device.
The app’s theme will be set to the one that’s applied in your iOS system settings - light or dark.
You can also change the app icon. To do this, hit the gear icon → Settings → Appearance → Change the app icon. Pick the one you like the most.
Notifications
When you first log in to your Nozbe in the iOS app, we will ask you if you want to receive notifications. If you confirm, your device will prompt you to allow notifications from Nozbe. Hit “Allow” to enable push notifications.
In order for the notifications to work, your device needs to be connected to the Internet.
Turning on notifications on iOS
If you haven’t turned the notifications on during the first login or you’re not receiving any, go to your iOS device’s settings. Find Nozbe on your app list and tap on it. While here, choose Notifications and activate the “Allow Notifications” option.
Types of notifications
There are a few types of notifications you can receive on iOS.
You can receive push notifications for tasks that are due, reminders, new mentions, group mentions and assigned tasks. To change what types of push notifications you’d like to receive, go to Nozbe, then hit the gear icon → Settings → Notifications.
Nozbe can send you Time-Sensitive Notifications for your due tasks and reminders so that you never miss a deadline. They will show up on your screen even when you’re blocking other notifications (for example, in the Focus mode). You can turn Time-Sensitive Notifications on and off in your iOS device’s settings.
Badge icon
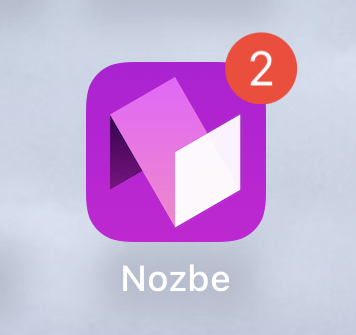
Another type of notification is a badge on the app icon. Nozbe can show you a number of tasks in a chosen view directly on the app’s icon. You can choose what number the app should show: tasks in Incoming, Activity, or Priority. If you have more than one space, you can choose the space from which the number is shown, or select All spaces.
To change the badge’s settings, go to Nozbe, then tap the gear icon → Settings → Notifications → Badge.

Widget
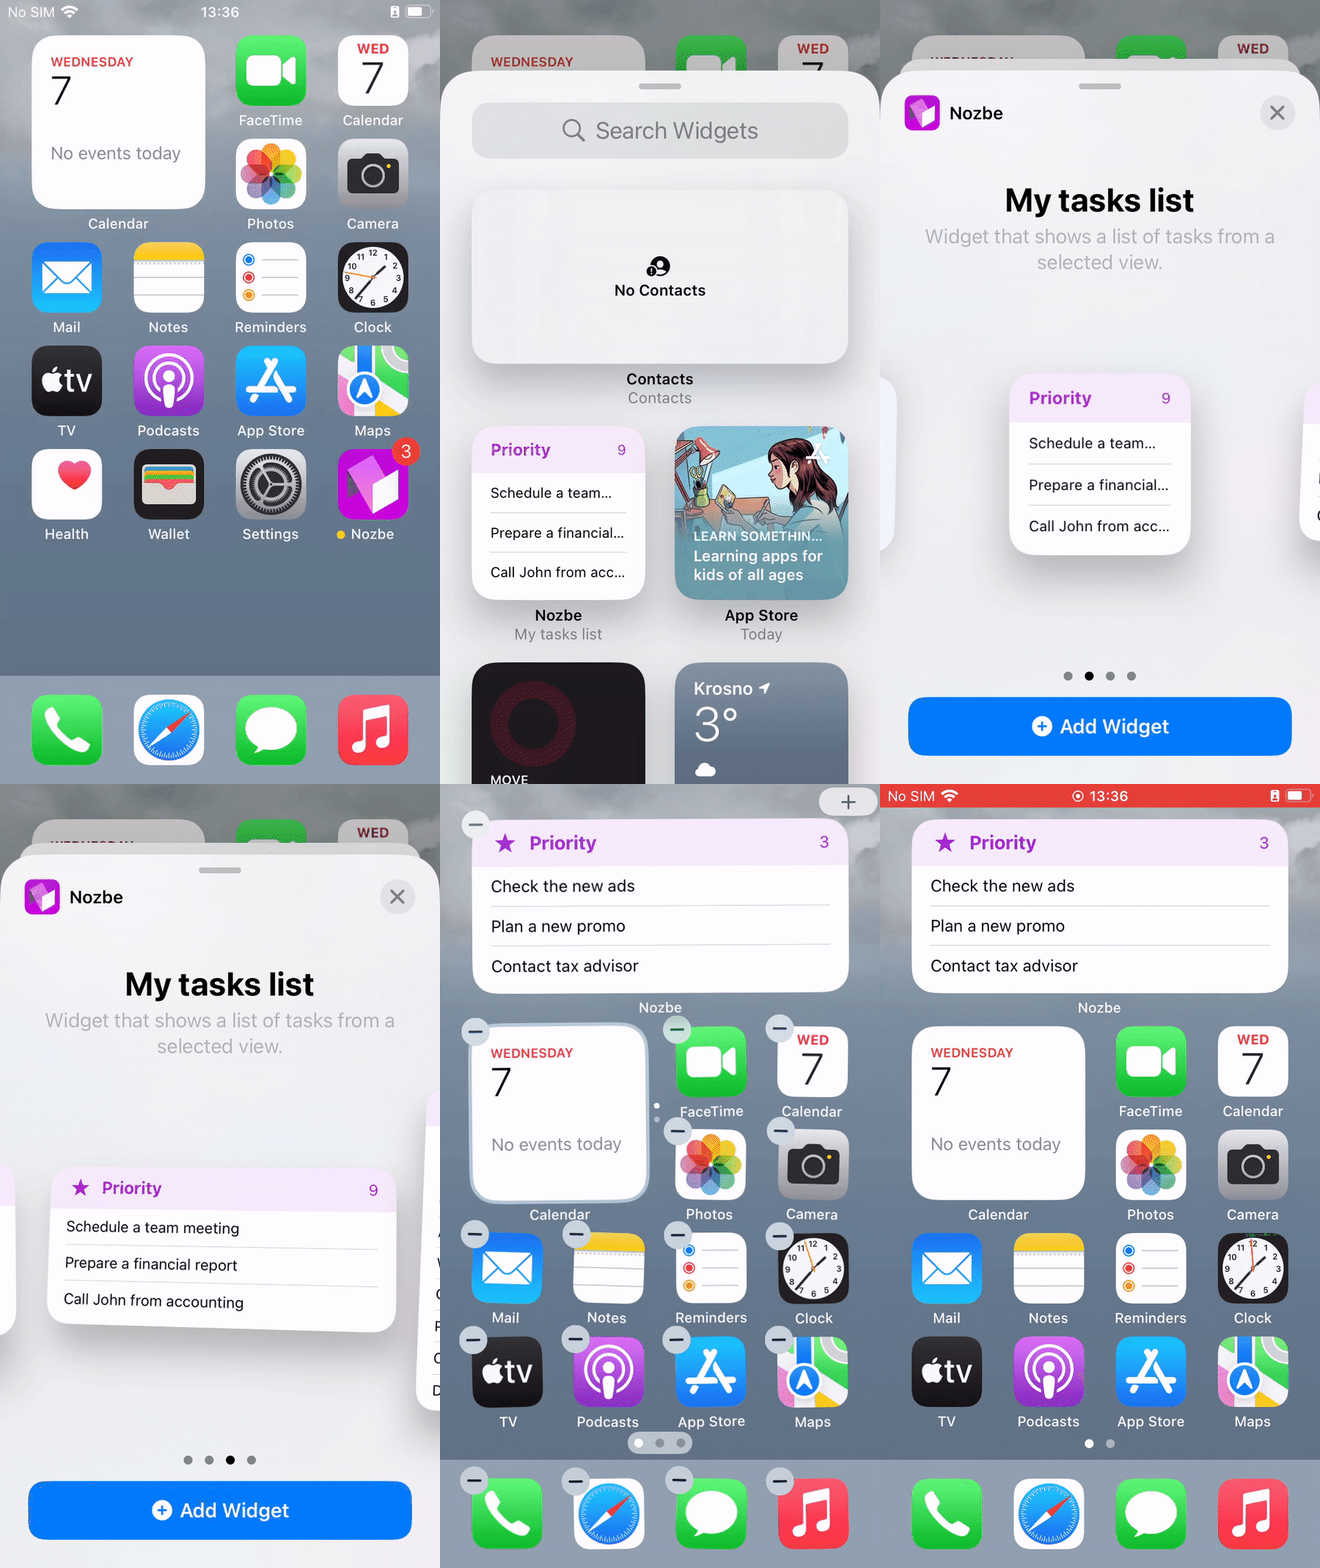
To set up a widget for iOS, check if you’re using the latest version of Nozbe from the App Store first. Long press on your home screen, then hit the “+” icon in the top-left corner of your screen and select Nozbe from the list of available widgets.

Once you add the widget to your home screen and confirm, you can then long press on it to edit it and select which view you want it to show.
You can also tap on the widget to open Nozbe.
Long press shortcuts
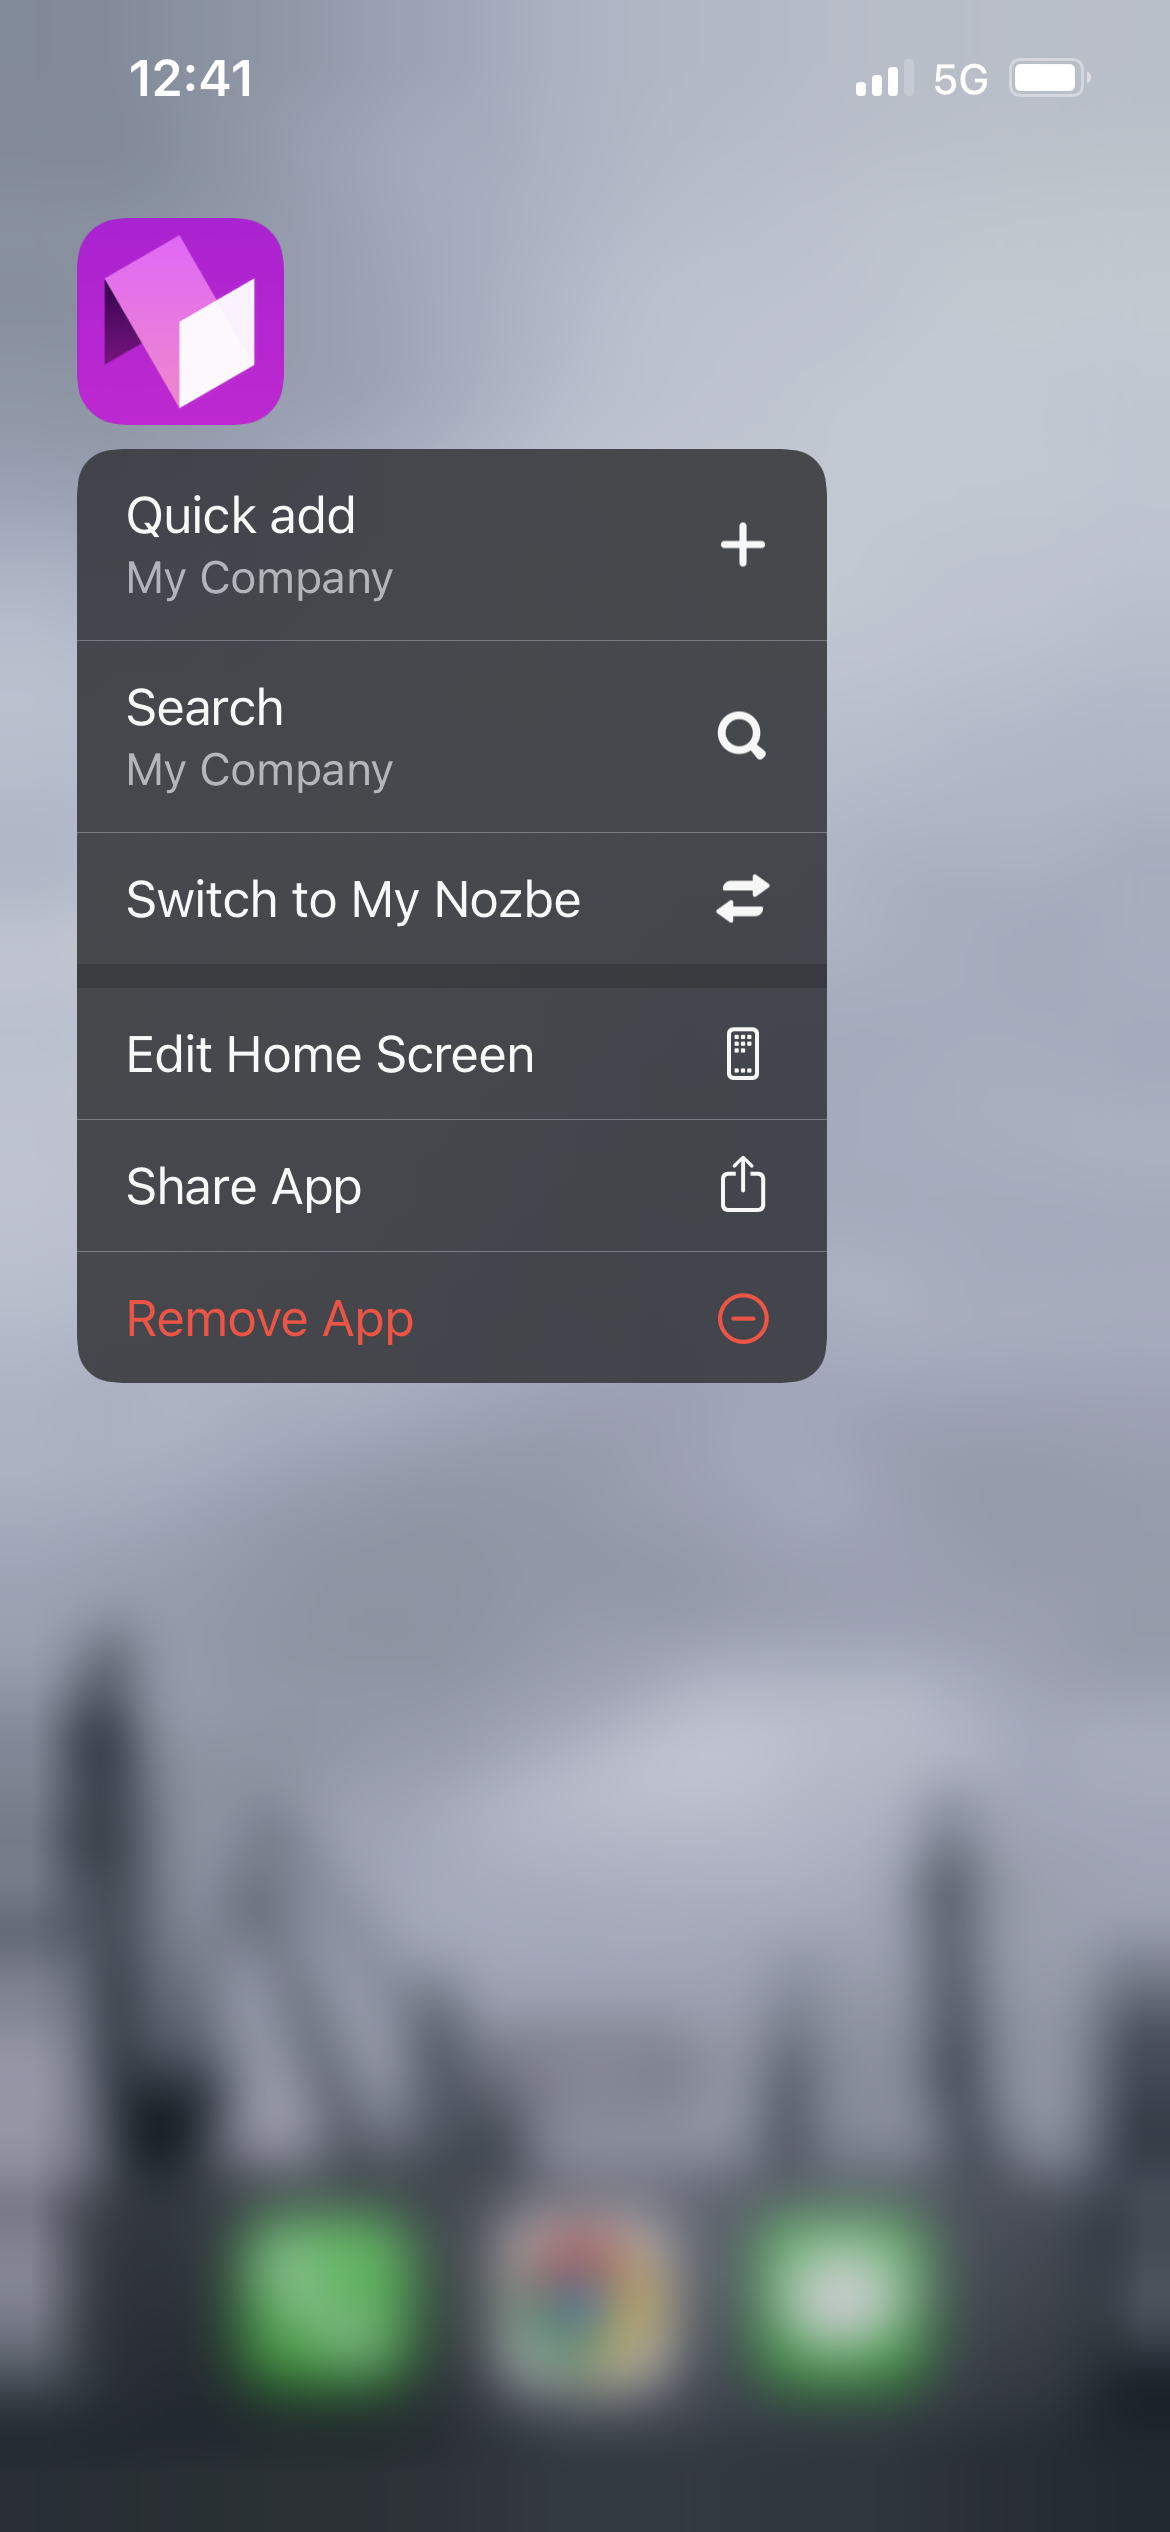
Tap and hold your finger on Nozbe’s icon to access long press shortcuts.

Here, you can choose one of the following actions:
- Quick Add - use it to quickly add tasks to the selected space,
- Search - open the search window in the selected space,
- Switch to space A and Switch to space B - switch the currently active space to a different one.
Share extension
You can share items (photos, videos, links, etc.) to Nozbe using the Share extension. Thanks to it, you can add new tasks in Nozbe with these items.
To do this, open the item you’d like to share to Nozbe, then find the “Share” option (a box with an arrow pointing up). Find Nozbe on the list of available apps and tap on it.
Choose where to add the task in Nozbe. By default, it will be added to your Single Tasks in your first space on the list. Here you can also decide who should be responsible for the newly added task. It will be assigned to you by default. In addition to that, the share extension allows you to write down a comment and mark this task as a priority.
When you are ready, hit the arrow to confirm adding your task.
Task added that way will be added to the chosen task list, and it will also show up in your Incoming, in the “Recently added” section of that view.
Please note that some extensions (eg. a share extension) are only available for users with iOS 14.4 and above.
Keyboard shortcuts
You can manage tasks and navigate Nozbe on iPad by using keyboard shortcuts on an external keyboard.
To see a full list of available shortcuts inside the app, press and hold the ⌘ command key on your keyboard.


