Android app
Nozbe for Android
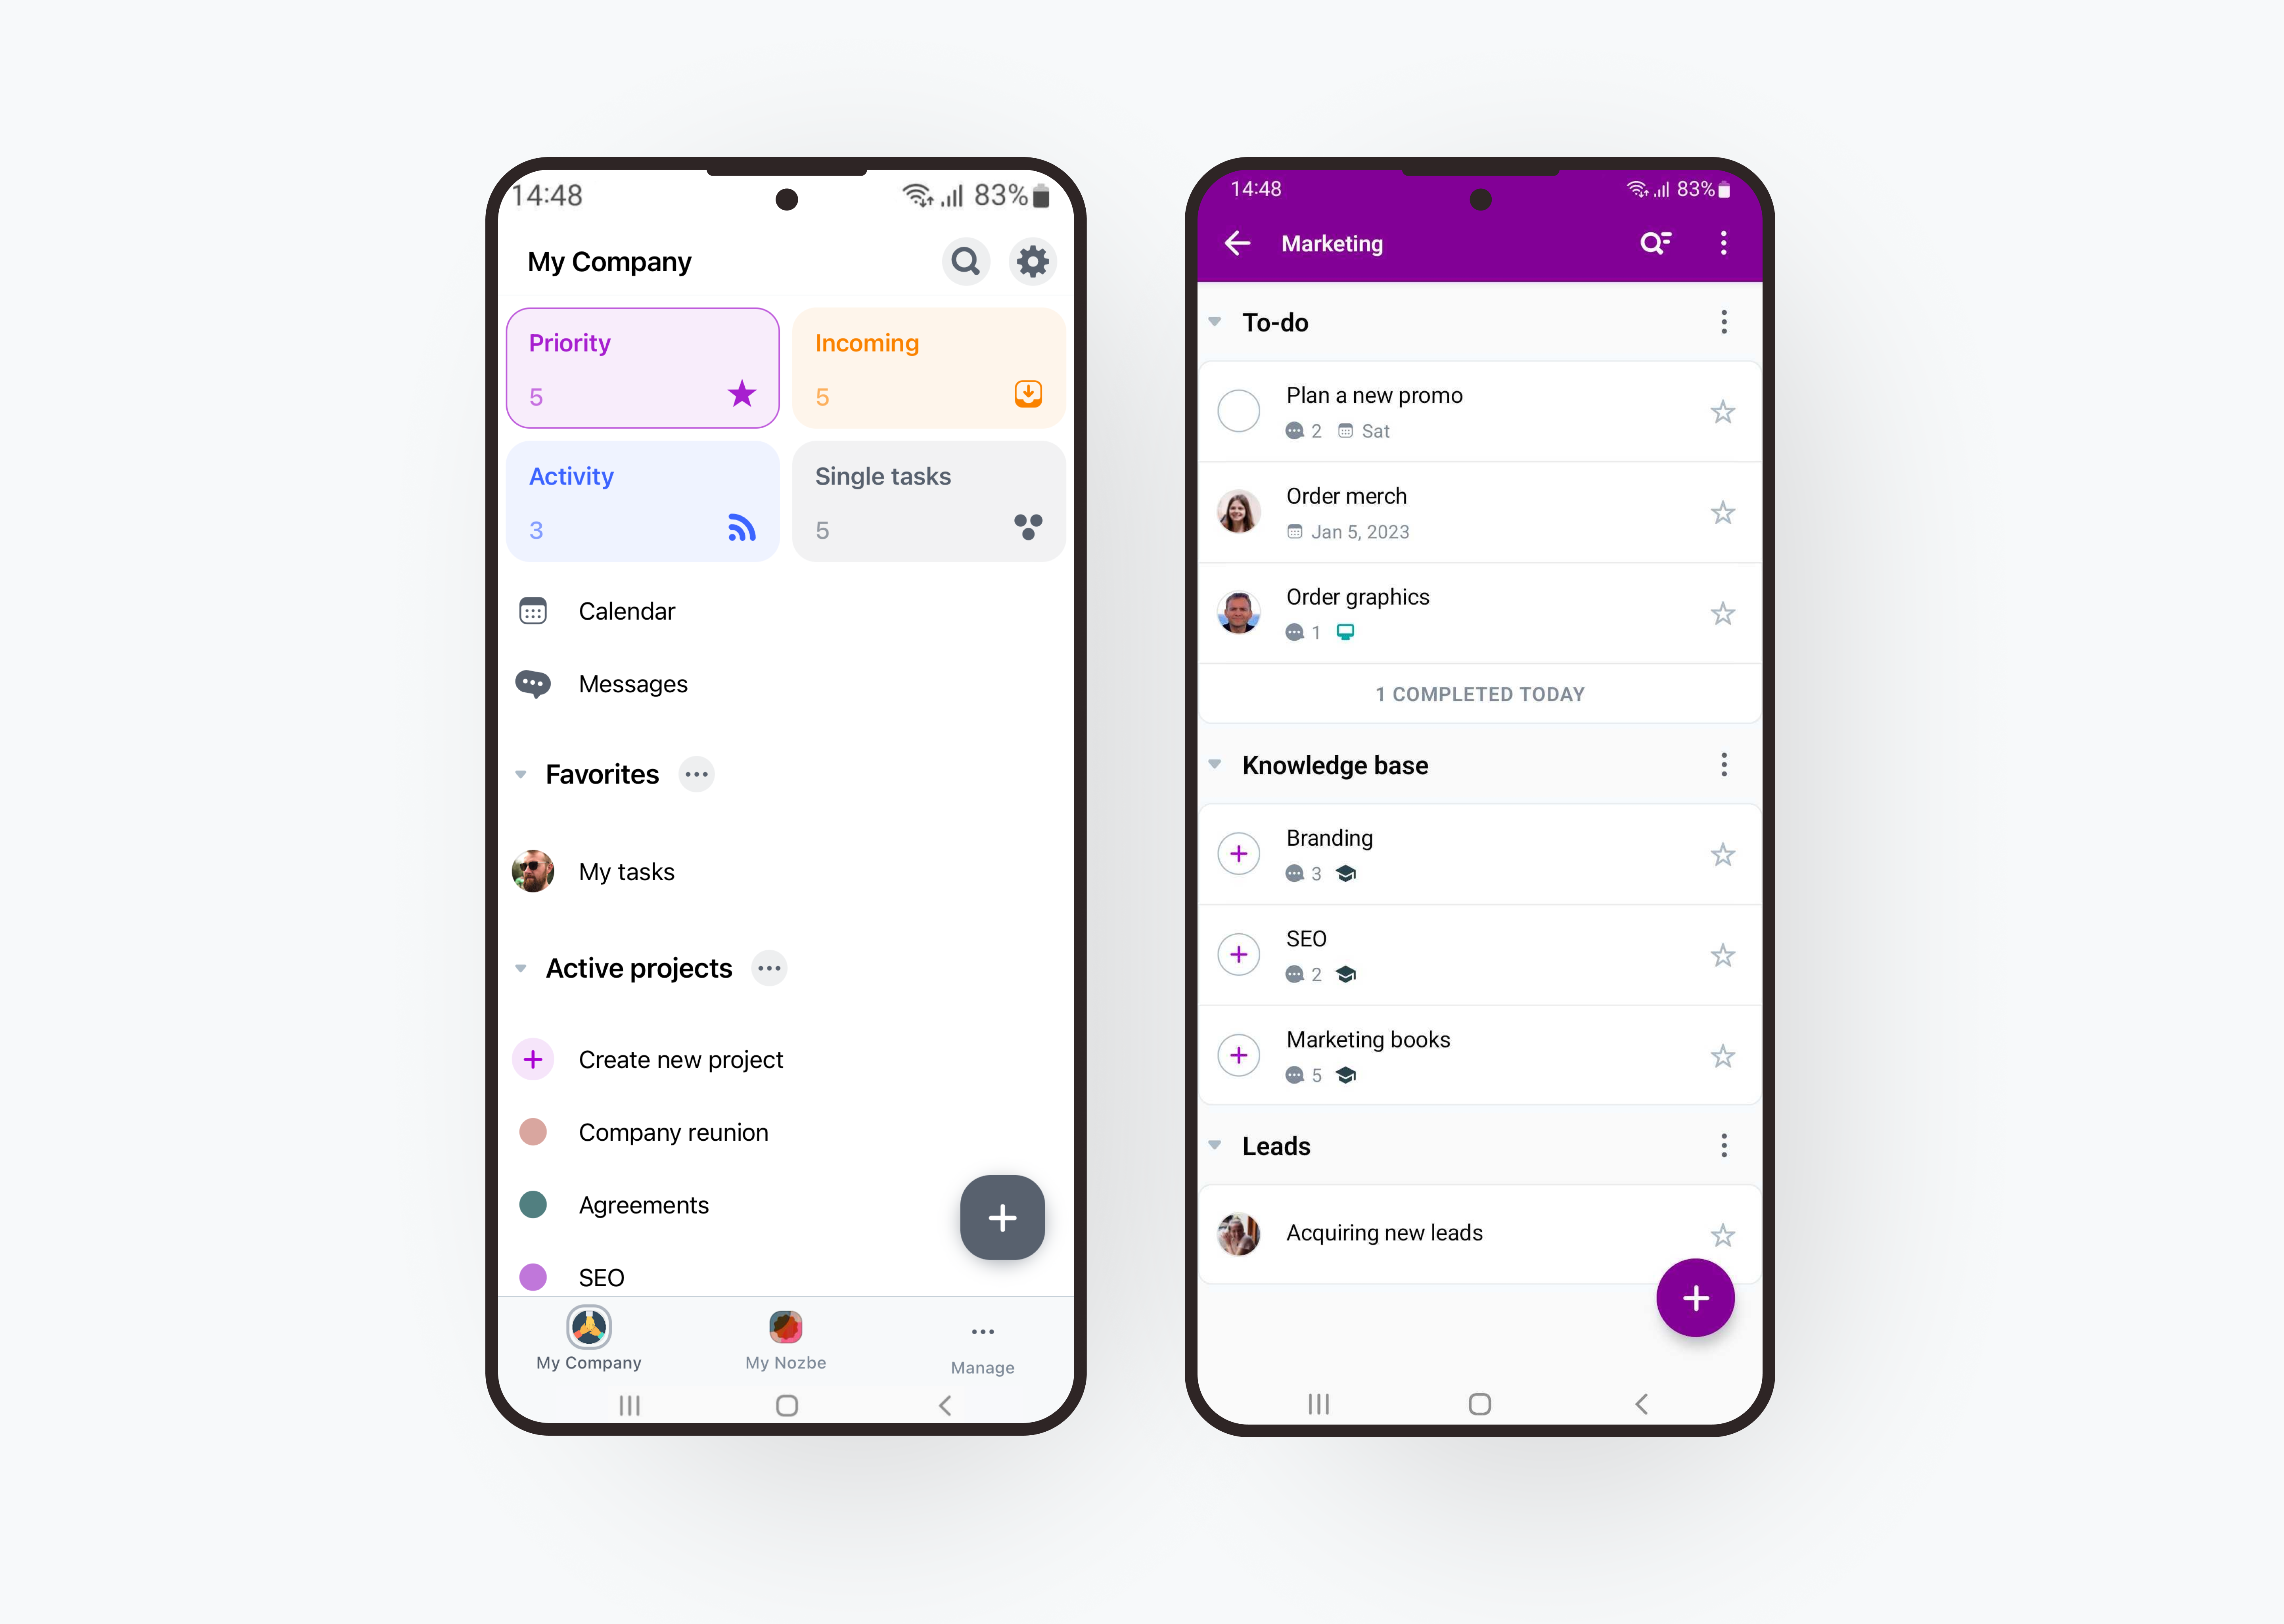
Nozbe Android app - download it for free for your Android phone from Google Play.
To work seamlessly, our Android app requires Android 7.0 or later.
Preferences and appearance
Nozbe will set the app’s language to one that’s determined in your Android system settings if a translation is available. Otherwise, the app’s language will be set to English. You can change the app’s language by hitting the gear icon → Settings → Language.
Nozbe automatically adjusts the app’s time according to the time zone settings of your Android device.
The app’s theme will be set to the one that’s applied in your Android system settings - light or dark.
You can also change the app icon. To do this, hit the gear icon → Settings → Appearance → Change the app icon. Pick the one you like the most.
Notifications
When you first log in to the app, the app will ask for your permission to send you notifications. Allow them to start receiving notifications from Nozbe.
If your device is running Android 12 and older, the notifications will be enabled by default.
In order for the notifications to work, your device needs to be connected to the Internet.
Turning on notifications on Android
To manage the notifications on Android, open your system settings, choose “Notifications” and find Nozbe on the list, then tap on it. Here you can enable or disable the notifications.
You can also manage push notifications directly in the app’s Settings on your Android smartphone. Hit the gear icon → Settings → Notifications and turn on the “Show notifications” option. Here you can also choose what type of notifications you’d like to receive.
Types of notifications
Notifications on Android are divided into two groups:
- Time-Sensitive: Due Dates, Reminders,
- Rest: Mentions, Assigned Tasks.
You will receive Time-Sensitive notifications the moment they are sent on your device from our servers.
Other notifications may not come up exactly the moment they are sent. It can happen when your phone is, e.g., in Doze mode (for example, when you haven’t been using your device for a longer moment). You will receive this kind of notification during the routine notifications check or when you receive a Time-Sensitive notification from any other app. Thanks to this, Nozbe won’t drain your battery during the day.
Notification channels
Notification channels allow you to personalize which notification types show up on your device, and how it notify you.
To manage the notification channels, open Nozbe’s info in your system settings, then choose “Notifications”. Here you can select a specific notification and change its settings.
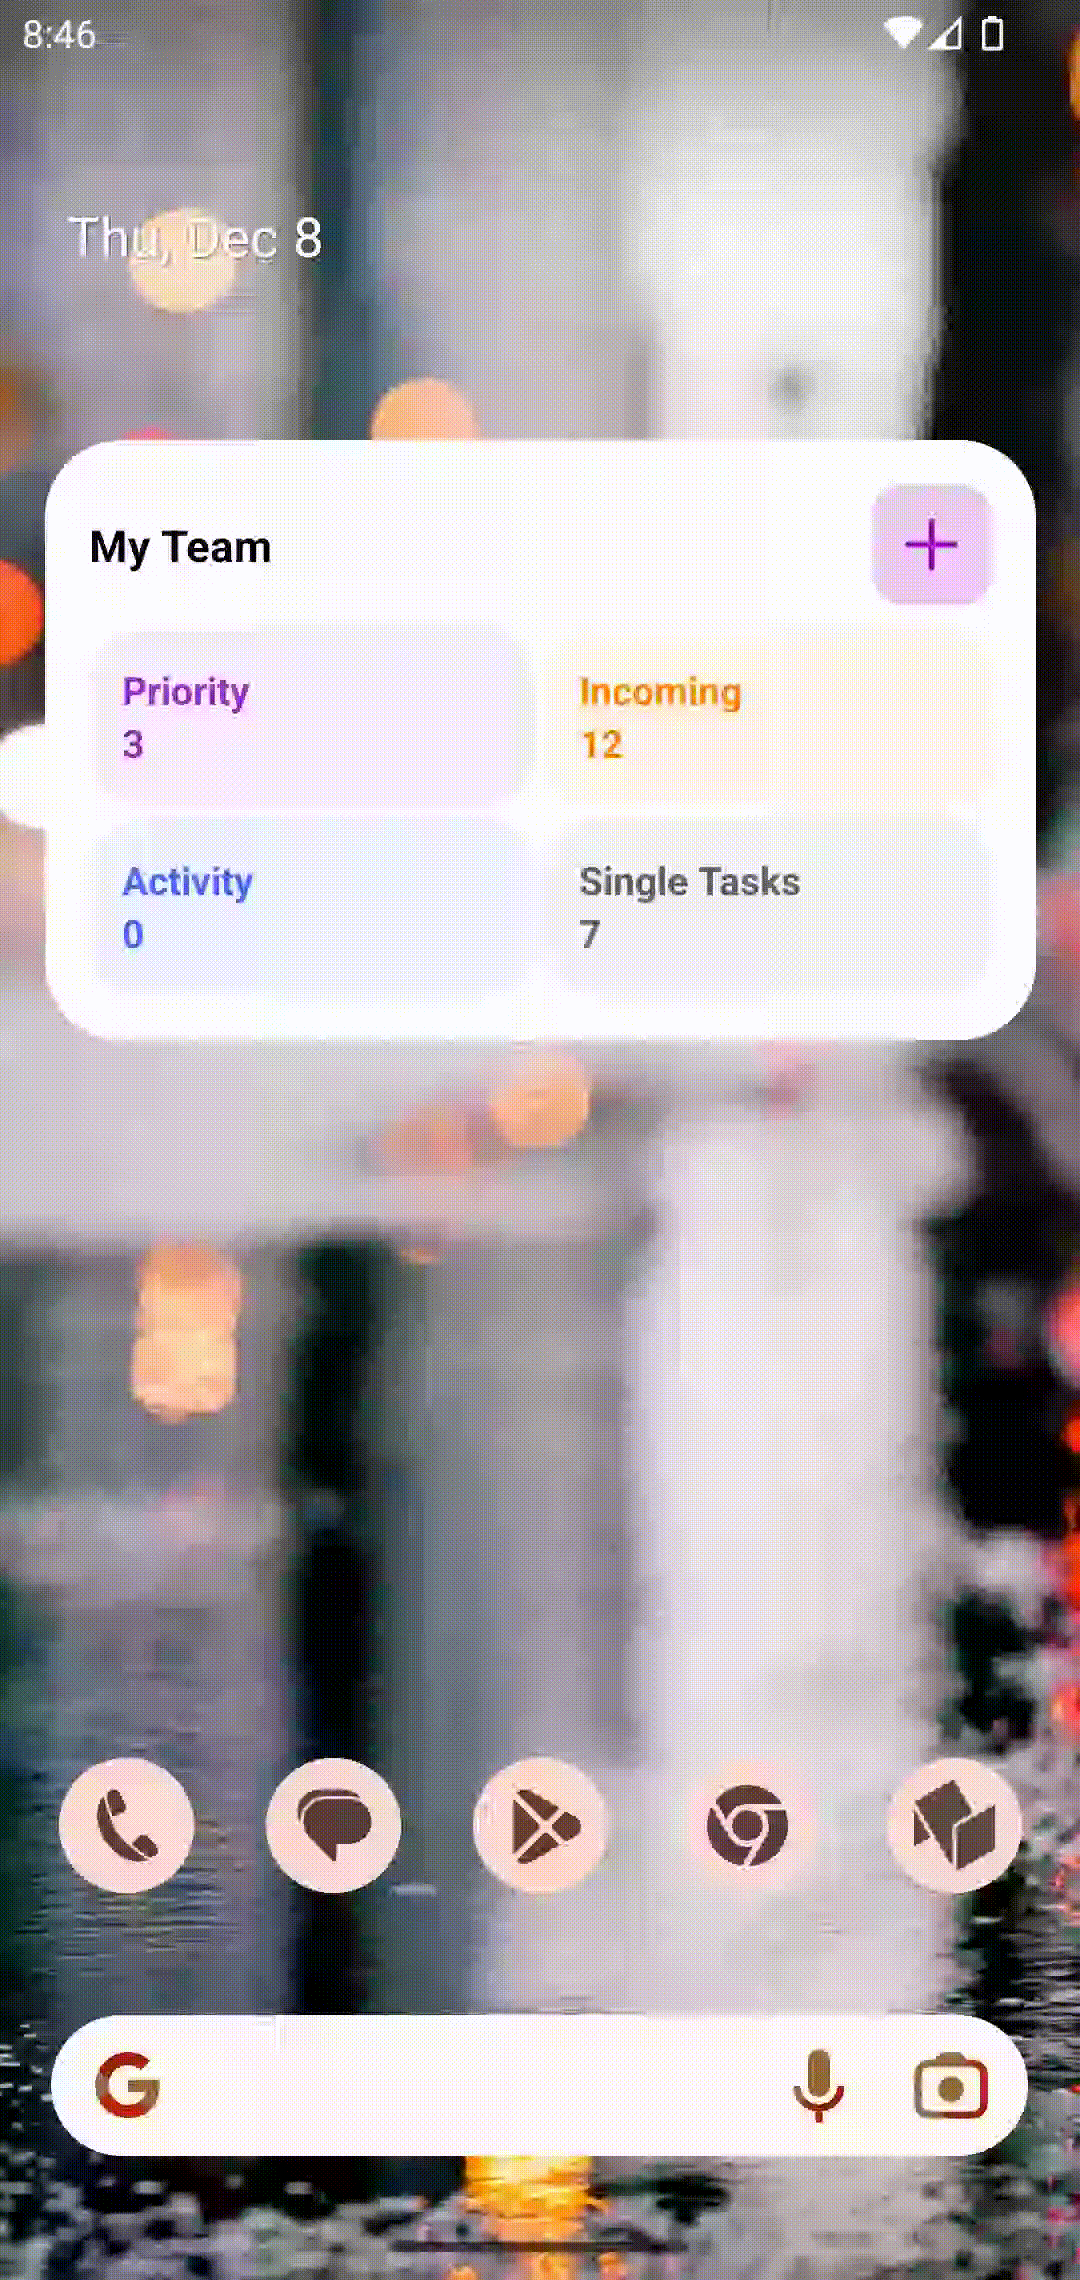
Widget
There are two ways to set up a widget on Android:
- Long press on home screen. Note that you should press on an empty space, and not on any other app’s icon. Choose Widget from the drop-down list, and then pick Nozbe. Drag the widget to your screen. You can adjust its size if needed.
- You can also long press directly on Nozbe’s icon on the home screen. Pick a widget from the list and drag it to the appropriate screen. Adjust its size if necessary. Once you create the widget, you can choose a task list you wish to see on it.
Watch a video about the widget:
Quick add shortcut
In addition to that, you can long press on Nozbe’s icon and select “Quick add” to add tasks to Nozbe.
If you want to pin the shortcut to your home screen, just tap and hold it, then drop it into an empty space on your home screen.

Please note that on some Android devices (made by e.g. Xiaomi and Redmi) the possibility to pin shortcuts to the home screen was disabled by their manufacturers.
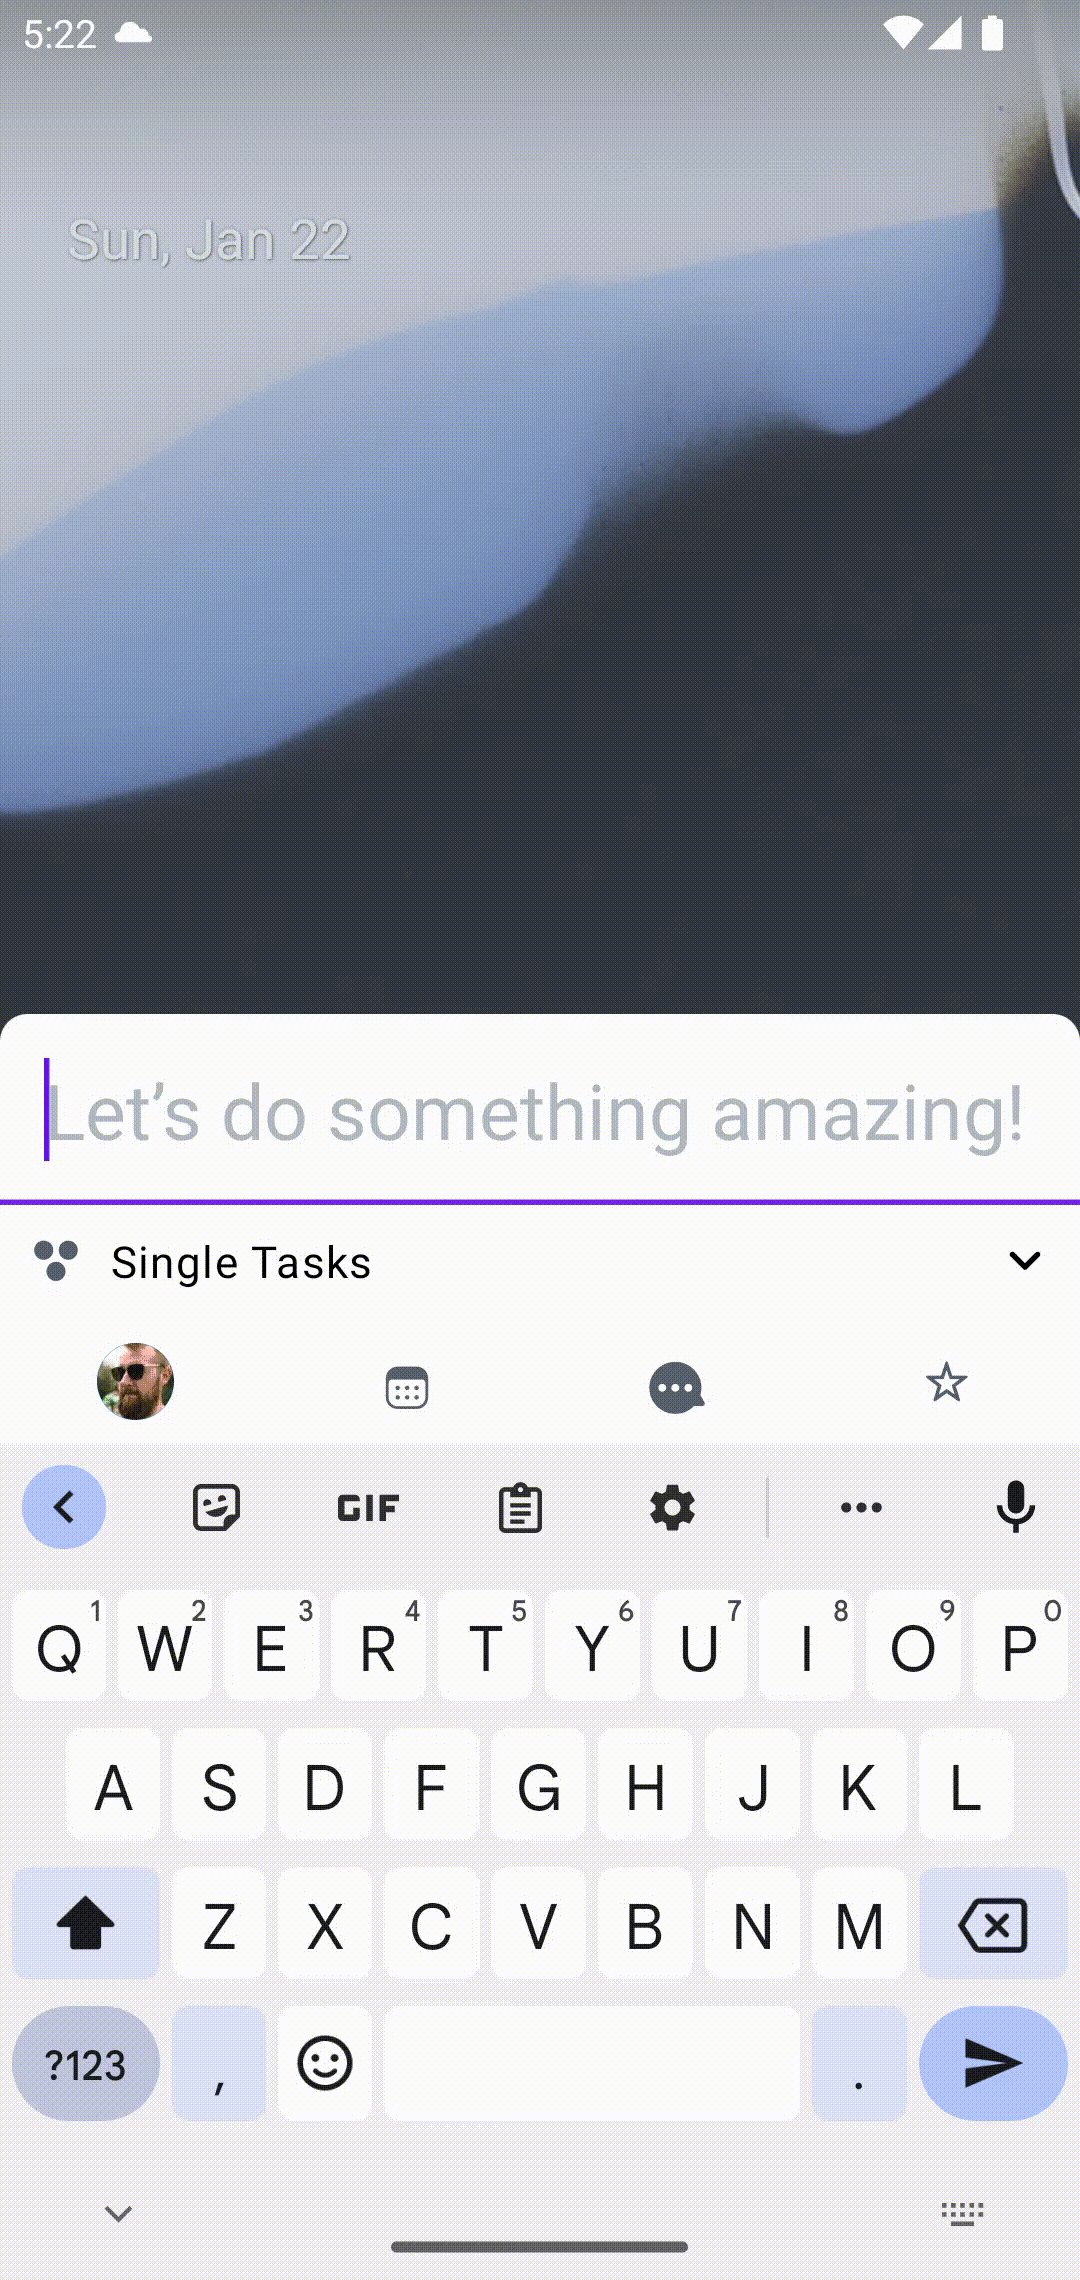
To add a task, open the Quick Add widget and type in the task name. You can also use #hashtags to add parameters to that tasks. Type in the “#” sign, then start typing a parameter’s name and select the appropriate one from the list. Use multiple hashtags to add a few parameters to one task.
Quick Settings tile
You can also use the Quick Settings tile to add tasks to Nozbe from the notification panel.
To access it, swipe down your notification panel twice so it’s fully open, then tap the “Edit” button.
Tap and hold on to Nozbe’s “Quick add” setting tile and drag it where you want it to appear.
To add a task to Nozbe, swipe your notification panel and tap on the “Quick add” tile.
Sharing files
You can share items (photos, videos, links, etc.) to Nozbe from most apps. Thanks to it, you can add new tasks in Nozbe with these items.
To do this, open the item you’d like to share to Nozbe, then find the “Share” option (a dot connected to two other dots). Find Nozbe on the list of available apps and tap on it.
Choose where to add the task in Nozbe. By default, it will be added to your Single Tasks in your first space on the list. Here you can also decide who should be responsible for the newly added task. It will be assigned to you by default. In addition to that, the share extension allows you to write down a comment and mark this task as a priority.
When you are ready, hit the arrow to confirm adding your task.
Drag and drop between apps
You can also drag files from other apps in the split screen mode and drop them in Nozbe.
Tap and hold the file you’d like to add to Nozbe, then drop it on your task list to add a new task. You can also drop the file in the task details view to add it as a comment to a specific file.
Biometric authentication
If your device offers biometric authentication, you can enable it in Nozbe as an additional security step.
To enable biometric authentication, tap the gear icon → Settings → Biometric authentication.
Once enabled, Nozbe will prompt you to authenticate with a fingerprint or a face scan. The prompt will show up when you open the app, on condition that 1 minute has passed since the last authentication.
Keyboard shortcuts
You can manage tasks and navigate Nozbe on an Android device using keyboard shortcuts on an external keyboard.
To see a full list of available shortcuts inside the app, hit the gear icon in the top-left area of the app, then choose “Help & Contact” and select “Keyboard shortcuts”. You can also open the list of available shortcuts by hitting ctrl+/.


